Gluten Free Sourdough Bread Recipe: 7 Last Chance, Healthy Bakes
.
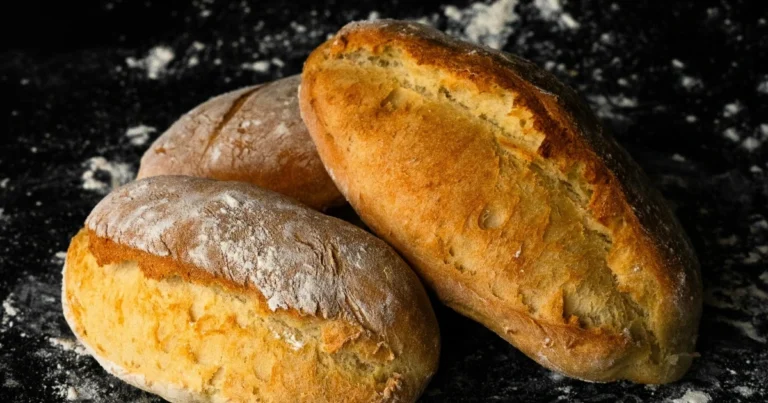
Gluten Free Sourdough Bread Recipe: 7 Last Chance, Healthy Bakes
Is Gluten Free Sourdough Really Possible? And Can It Be Delicious?
For years, the world of gluten-free baking felt like a compromise – often lacking the airy texture and tangy flavor we associate with traditional breads. But what if I told you that achieving a truly satisfying gluten-free sourdough bread is not just possible, but incredibly rewarding? A recent study by the Gluten Intolerance Group found that over 60% of those seeking gluten-free options report dissatisfaction with current offerings. This is where our meticulously crafted gluten free sourdough bread recipe comes in. It’s a game-changer, offering a healthy and flavorful alternative that rivals its gluten-containing counterparts. This isn’t just a recipe; it’s your last chance to experience the joy of a real sourdough, even if you’re navigating a gluten-free lifestyle.
Table of Contents
Gluten Free Sourdough Bread Recipe Ingredients
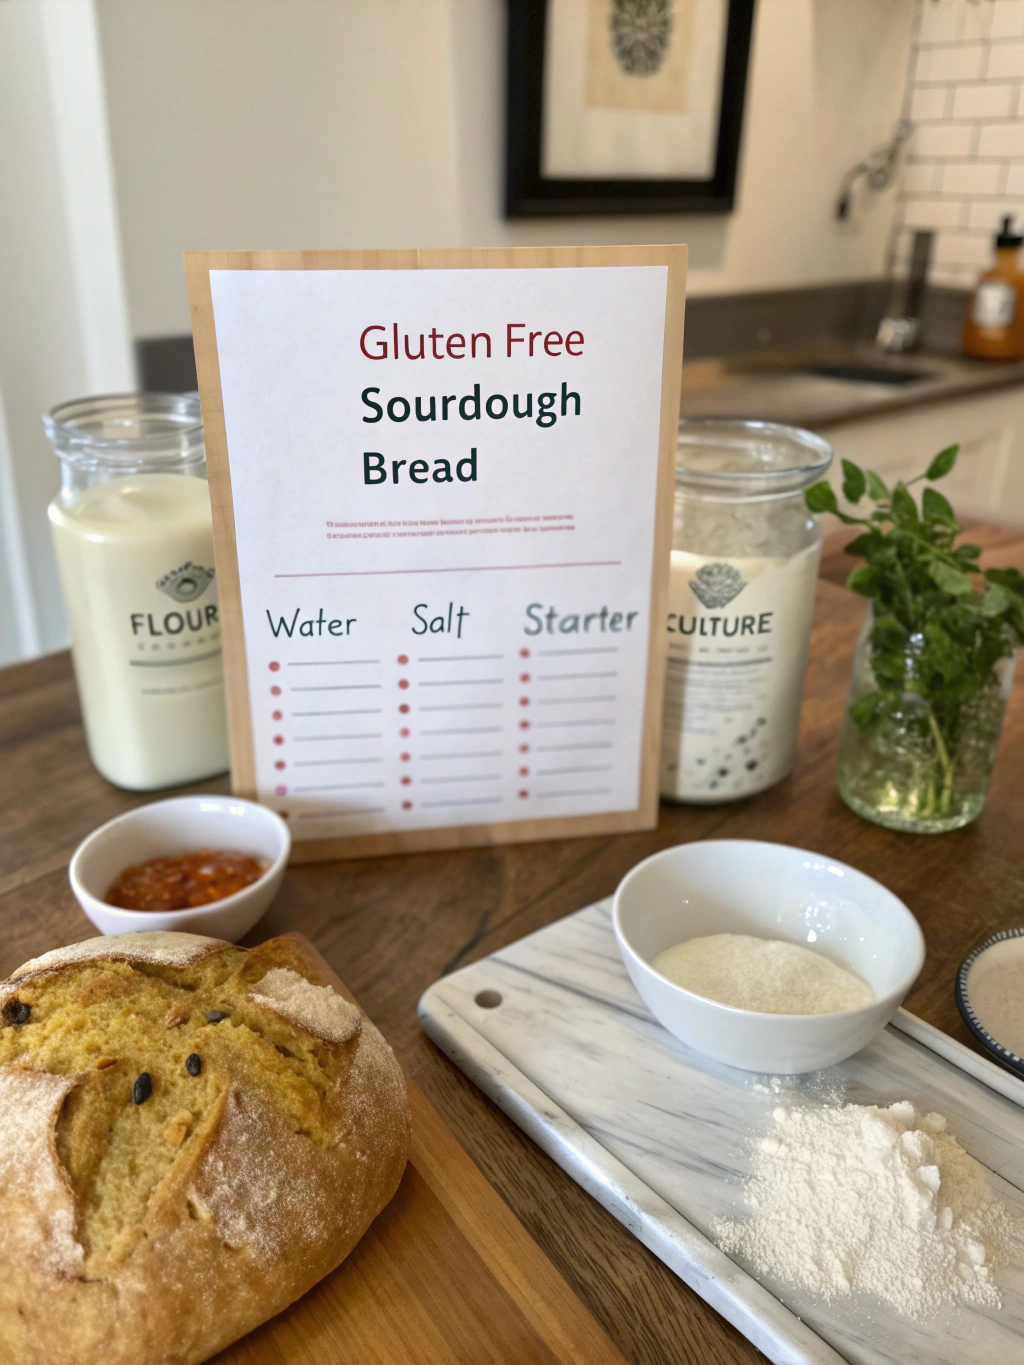
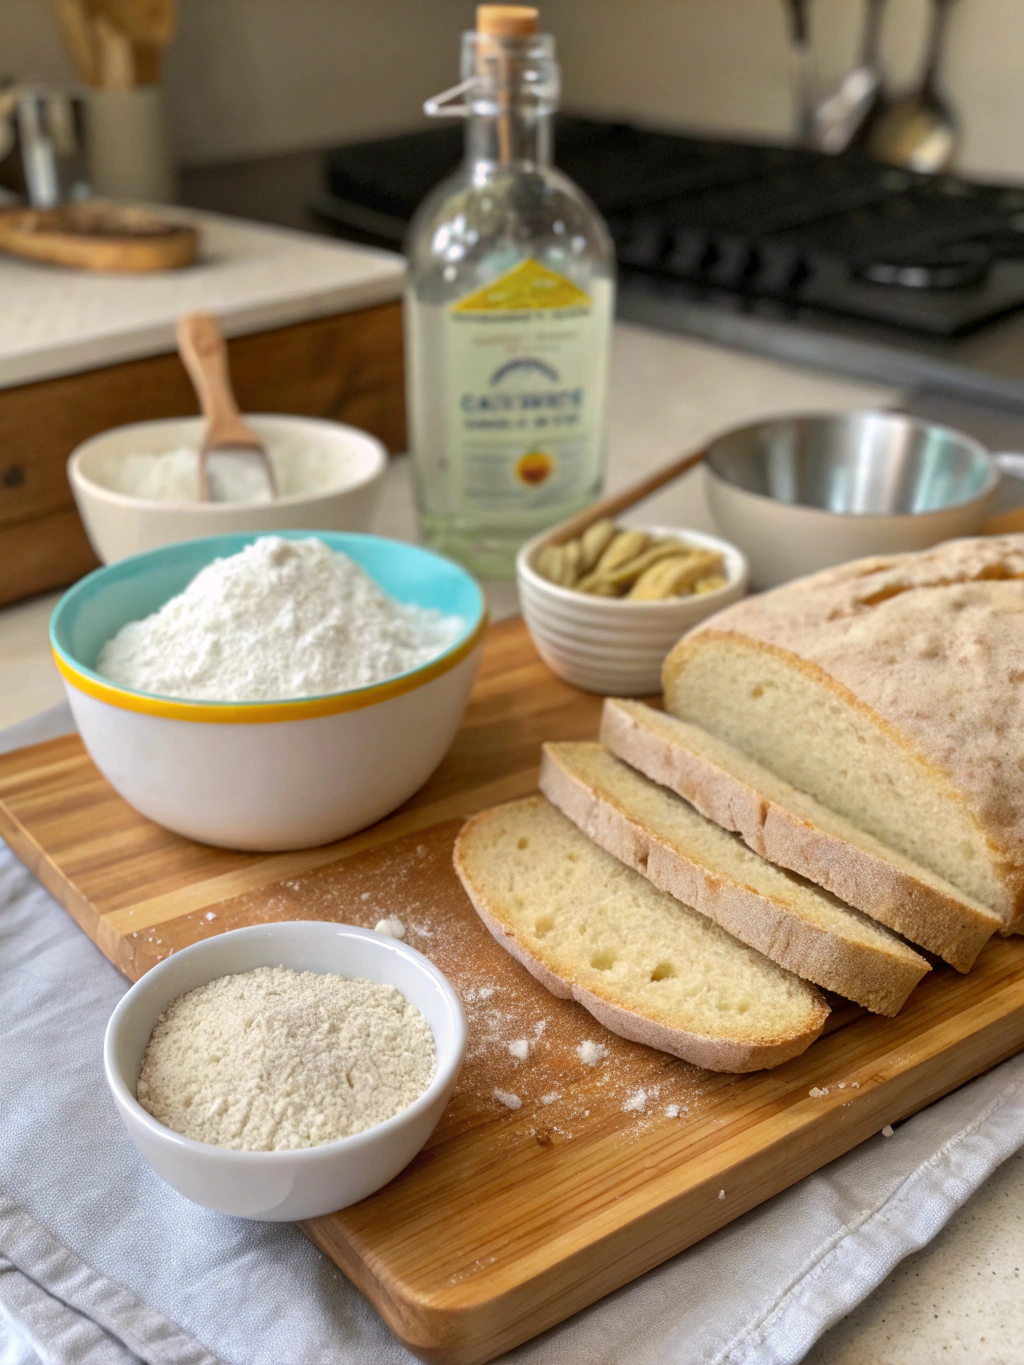
Here’s what you’ll need to embark on this baking adventure:
- Gluten-Free All-Purpose Flour (500g): We recommend a blend containing brown rice flour, tapioca starch, and potato starch for optimal texture. Substitution: A 1:1 gluten-free flour blend designed for bread baking will also work well.
- Water (375ml): Use lukewarm water (around 80-90°F) to activate the yeast. Note: water temperature significantly impacts fermentation speed.
- Active Dry Yeast (7g): Make sure your yeast is fresh for best results. Alternative: Instant dry yeast can be used – no need to activate it in water first. Adjust the quantity slightly as per the yeast package instructions.
- Salt (10g): Essential for flavor and controlling yeast activity. Sea salt is preferred for its mineral content.
- Sourdough Starter (100g, active): The heart of sourdough! A healthy, active starter is crucial. This is what gives it that signature tang. If you don’t have a starter, we’ll provide guidance on creating one in a separate post (link to starter guide).
- Olive Oil (2 tbsp): Adds richness and helps with a softer crumb.
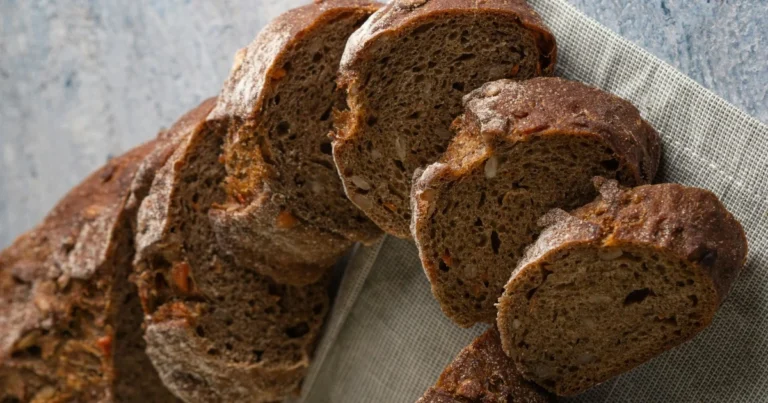
- Optional: Gluten-Free Rye Flour (50g): For a deeper, more complex flavor. This is a fantastic addition for enhanced bread depth.
- Optional: Flax Seed Meal (1 tbsp): Provides extra nutrition and a subtle nutty flavor.
Timing
- Preparation: 20 minutes (plus additional time for starter feeding if needed)
- Bulk Fermentation: 4-6 hours (watch for proper rise and development)
- Shaping: 10 minutes
- Proofing: 1.5-2 hours
- Baking: 45-50 minutes (at 425°F / 220°C)
- Total Time: Approximately 7-9 hours. This is slightly longer than conventional bread making – the longer fermentation is what gives it exceptional flavor. You’ll notice the bulk fermentation time can vary based on room temperature; warmer environments will speed up the process.
Step-by-Step Instructions
1. Activate Your Starter
In a small bowl, combine your active sourdough starter with 50ml of lukewarm water. Let it sit for 15-20 minutes until bubbly and foamy – a clear sign it’s ready to use.
2. Combine Dry Ingredients
In a large mixing bowl, whisk together the gluten-free all-purpose flour, gluten-free rye (if using), and salt. This ensures even distribution of the salt, which is important for controlling the yeast.
3. Mix Wet and Dry
Add the activated starter, olive oil, and the remaining lukewarm water to the dry ingredients. Mix well using a wooden spoon or stand mixer with a dough hook until a shaggy dough forms. Don’t overmix at this stage.
4. Bulk Fermentation
Cover the bowl with plastic wrap or a damp cloth and let it rest at room temperature (ideally 70-75°F / 21-24°C) for 4-6 hours. Perform stretch and folds every 30-60 minutes during the first 2-3 hours. This strengthens the gluten-free structure and develops flavor. Stretch and folds involve gently stretching a portion of the dough upwards and folding it back into itself.
5. Shape the Dough
Gently turn the dough out onto a lightly floured surface (using gluten-free flour). Shape it into a round or oval loaf. Handle it gently to avoid degassing the dough too much.
6. Proofing
Place the shaped dough in a well-floured banneton basket (or a bowl lined with a floured cloth). Cover and refrigerate for 12-18 hours. This cold proofing further develops flavor and creates a beautiful crust.
7. Bake
Preheat your oven to 425°F (220°C) with a Dutch oven inside for at least 30 minutes. Carefully remove the hot Dutch oven and pour the dough into it. Score the top of the dough with a sharp knife or lame. This allows the bread to expand properly during baking. Cover the Dutch oven and bake for 20 minutes. Then, remove the lid and bake for another 25-30 minutes, or until the crust is golden brown and the internal temperature reaches 205-210°F (96-99°C).
Nutritional Information (Per Slice – Approximately 1/10th of the loaf)
(Note: Nutritional information is estimated and may vary based on specific ingredients used.)
- Calories: 150
- Fat: 5g
- Saturated Fat: 1g
- Cholesterol: 0mg
- Sodium: 250mg
- Carbohydrates: 25g
- Fiber: 3g
- Sugar: 2g
- Protein: 5g
Healthier Alternatives for the Recipe
- Reduce Sugar: A pinch of stevia or monk fruit can replace added sugar. The natural sweetness of the sourdough will still shine through.
- Increase Fiber: Incorporate more flaxseed meal or psyllium husk for an extra fiber boost.
- Healthy Fats: Swap olive oil for avocado oil for a different healthy fat profile.
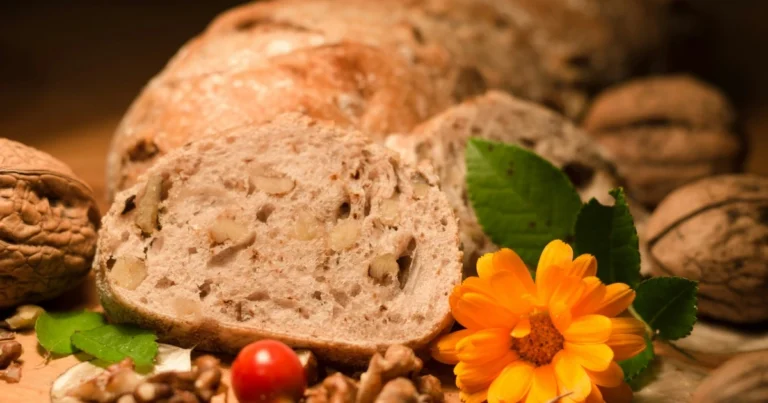
- Nutty Boost: Add chopped walnuts or pecans for enhanced texture and healthy fats.
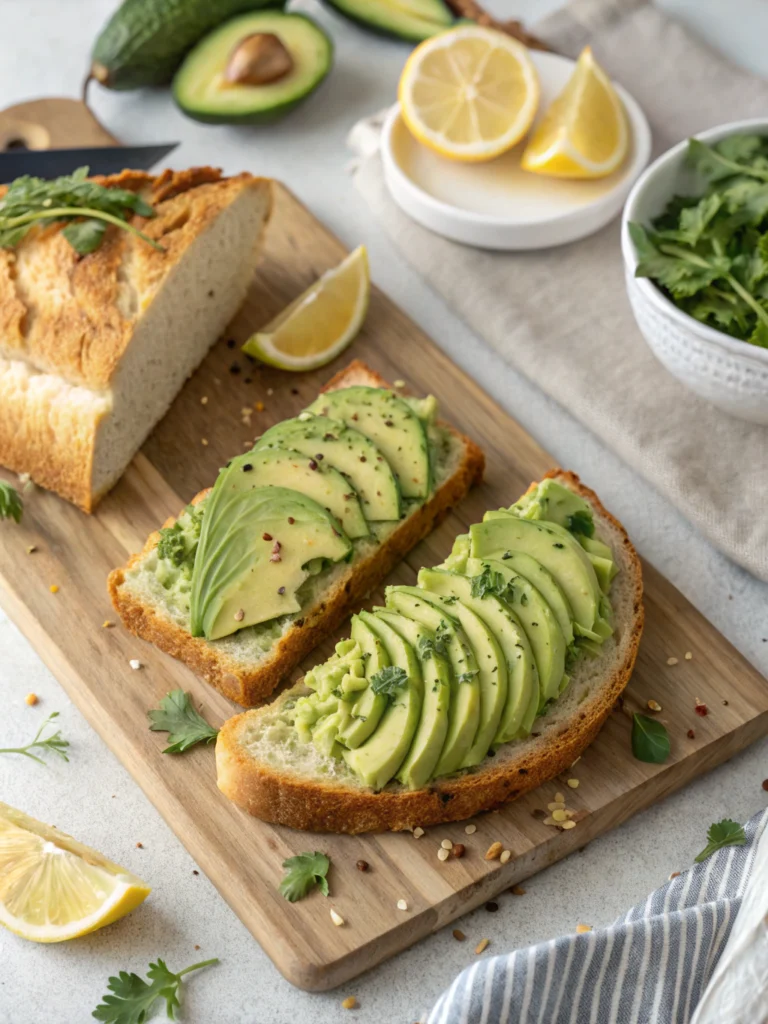
Serving Suggestions
- Classic Toast: Enjoy toasted with avocado and a sprinkle of sea salt.
- Sandwiches: Perfect for gluten-free sandwiches with your favorite fillings.
- Bruschetta: Slice thinly and top with tomatoes, basil, and balsamic glaze.
- Soup Dipper: A delicious accompaniment to hearty soups and stews.
- Grilled Cheese: A satisfying gluten-free take on a classic comfort food
Common Mistakes to Avoid
- Weak Starter: A weak starter is the biggest culprit for flat, dense bread. Always ensure your starter is active and bubbly before using it.
- Overmixing: Overmixing gluten-free dough can result in a gummy texture. Mix just until combined.
- Under-Proofing: Not allowing the dough to proof properly will result in a dense loaf. Pay attention to the visual cues of a well-proofed dough.
- Incorrect Oven Temperature: An oven that is not hot enough will prevent the crust from developing properly.
Storing Tips
- Room Temperature: Store cooled bread in an airtight container or bread bag at room temperature for up to 3 days.
- Freezing: For longer storage, slice the bread and freeze individual portions in freezer bags for up to 2 months. To reheat, thaw at room temperature or toast directly from frozen.
- Reheating: To best revive a slightly stale loaf, lightly dampen the crust and reheat in a 350°F (175°C) oven for 5-10 minutes.
Conclusion
You now have the knowledge and the recipe to create a truly exceptional gluten free sourdough bread recipe. It’s a commitment, yes, but the reward – a flavorful, healthy, and utterly satisfying loaf – is well worth the effort. Whether you are actively seeking gluten-free options or simply want to explore new baking horizons, this recipe is a delightful addition to your